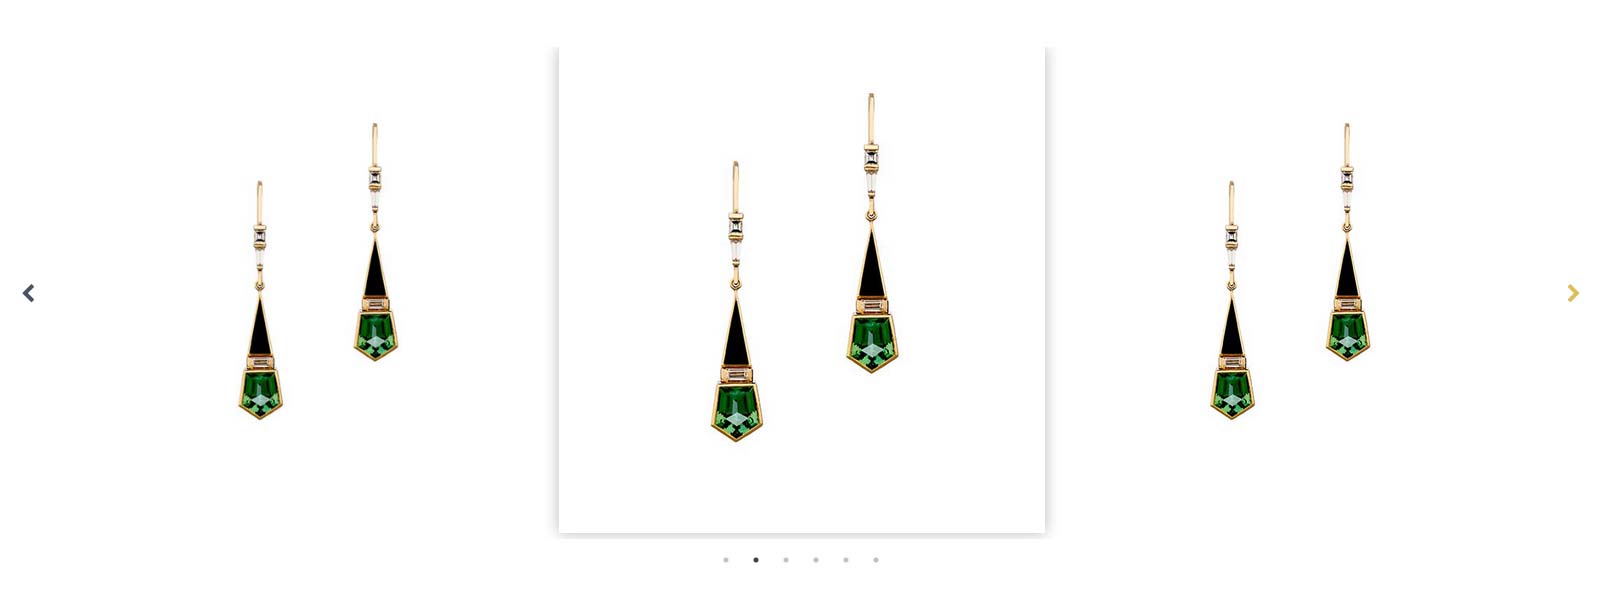
Here is how you can create a slider of WooCommerce product featured images using a jQuery slider.
There are many slider scripts you can use, this one uses Slick Center Mode, this one from Slick adds a CSS class on the center image by which you can target with CSS and add in transition and transform effects.

Getting Slick in order
Download the latest Slick version.
Move into your CSS directory – slick.css, slick-theme.css, fonts, ajax-loader.gif
Move into your JS directory – slick.min.js
Create a slick-init.js file and also file in JS directory and add in…
jQuery(document).ready(function($){
    $('.featured-product-slider').slick({ //add CSS class of target
        dots: true,
        autoplay: false,
        speed: 900,
        autoplaySpeed: 2000,
        centerMode: true,
        centerPadding: '30px',
        slidesToShow: 3,
        responsive: [
          {
            breakpoint: 768,
            settings: {
              arrows: false,
              centerMode: true,
              centerPadding: '40px',
              slidesToShow: 3
            }
          },
          {
            breakpoint: 480,
            settings: {
              arrows: false,
              centerMode: true,
              centerPadding: '40px',
              slidesToShow: 1
            }
          }
        ]
      })
    });
Change any parameters to your choosing, I haven’t changed much in the above, just tweaked the speed, dots and autoplay settings.
Enqueue in the Scripts and Styles
Create the WooCommerce Loop
For the WooCommerce loop, I am creating a shortcode so I can easily insert anywhere [[woo_featured_image]]
That’s the bare bones of it, now a couple of CSS tweaks.
Changing the Slick Navigation Arrows and Fix Positioning
The default slick navigation arrows look pretty ordinary, you can swap those with Fontawesome icons like..
.slick-prev::before {
    content: '\f053 ' !important;
}

.slick-next::before {
    content: '\f054' !important;
}

.slick-prev::before,
.slick-next::before {
	font-family: 'fontawesome' !important;
	color: #0c1b32 !important;
	border:none;
}
.slick-prev:hover,
.slick-next:hover {
	border: none !important;
}

.slick-prev:hover::before,
.slick-next:hover::before {
	border:none ! important;
	border-color:transparent;
	color: #ddbf54 !important;
}

button.slick-arrow,
button.slick-arrow:active,
button.slick-arrow:focus {
 	position: absolute !important;
 	top:50%;
}
Change the colors to suit, the last CSS rule above fixes the positioning of the nav arrows, I find sometimes that the Themes CSS may cause the arrows to jump on hover or active states.
For CSS for Slick Center Mode
.slick-center > div {
  transform: scale(1);
  }

.slick-slide > div {
  transform: scale(.85);
  transition: transform 1s cubic-bezier(.4,0,.2,1);
}

.slider__item > img {
  width: 100%;
  height: auto;
}
So the center image is 100% scale whereas the other can be set to a reduced scale – 85% in the above example – then use a transition effect for the animation.


2 comments
Rawny
Amazing work.. thanks a ton
Hardik Raval
This is an very helpfull article, nice explain step wise
Thank You.
(MR. HR)