Here is a guide to add a single background image to a widget using the Customizer in WordPress, I have written up on this topic before utilising some Genesis code used in the Altitude Pro theme to be able to use on other Genesis themes but here I just want to break it down to one single image for any WordPress theme.
This is to get an easier understanding of how it works and so you can build on it for more.
Register and Position the Widget Area
Add a New Panel, Section, Setting and Control for the Customizer
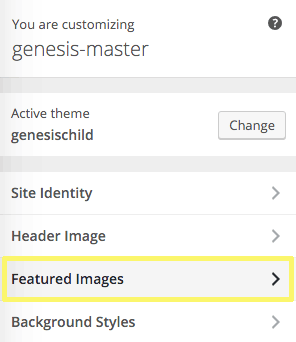
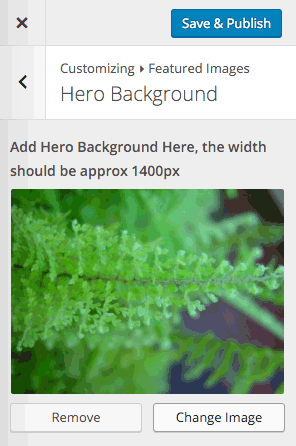
This will give us a new panel area in the Customizer called Featured Images which has our new section called Hero Background which contains our add_setting and add_control which is the image itself, in the add_setting you will see a default location for the image and in the add_control is a label where you can publish a message to the user, in particular about size.
customizer-new-panel
customizer-new-section
customizer-new-setting and control
Create the CSS Output
wp_add_inline_style is used to output the CSS with the $handle variable being passed the main CSS id handle of the theme. To get the URL of the background image get_theme_mod is used to retrieve the value of the add_settings name, in our example hero_bg
This value get_theme_mod( ‘hero_bg’) is then assigned to a variable which is used in the conditional statement for the CSS output – so if the value is not equal to blank it will output and use the URL for the background image in the inline CSS – if no image is chosen in the Customizer then it is equal to blank and no CSS will output.
The conditional statement is formatted using the ternary operator.