WordPress 4.5 added a new theme support feature for using a custom logo which allows a logo to be uploaded and used via the Customizer, this guide take you through using it with Genesis using the Sample Theme for an example.
The terminology of custom_logo will make more sense to end users than custom_header
To add the logo support to your theme add the add_theme_support function in your theme’s function.php add in your size dimensions, I leave flex values on so I can skip cropping.
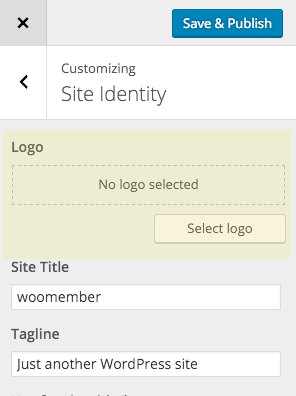
Now you can see the meta box in the Customizer under the site identity panel.
Displaying the logo in the front end of the site
To output the logo we need to check that it exists and use it if it does, if it doesn’t then the fallback is to use the site title and tag line. The logo is checked with the has_custom_logo check. I am using the genesis_seo_title filter to add in the logo.
In the 2nd function in this code block the site description is hidden if the custom logo exists, this also uses the has_custom_logo and if true adds the .screen-reader-text class to hide it.
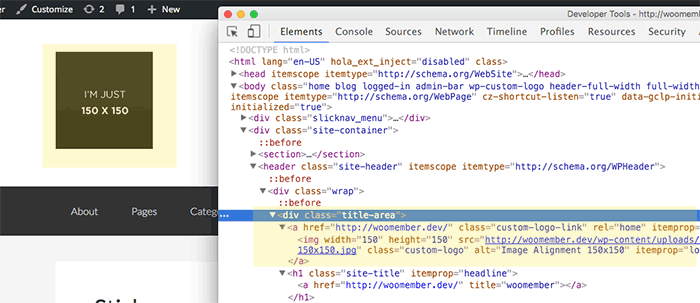
Also worth noting is that a .custom-logo class is given to the img and a .custom-logo-link to the containing link tag.
You also can output the custom_logo() wherever you need to.
Removing the Default Genesis Title/Logo Meta Box
You can remove the default Genesis title/logo meta box in the theme settings and Customizer control under Site Identity
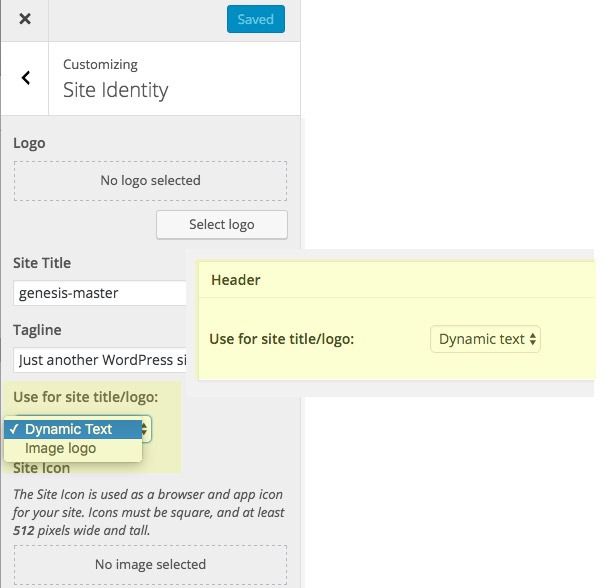
By adding the above in your functions.php









7 comments
Mike Hemberger
Great starting point Neil! I tweaked this for my needs, but found one important bug in yours. Calling `the_custom_logo()` outputs the logo. You want to use `get_custom_logo()` but note that function creates the link for you.
Neil Gowran
Cool thanks Mike – updated post
John Divramis
Hello, do you know how to do the same on Genesis Beautiful theme? I want to change dimensions of the logo but the header seems not to follow.
Jamaluddin Rahmat
Thank for this tutorial. Hopefully, it will be default functions in future Genesis :)
Probably, Genesis 3.0
David
Thanks again Neil for this useful tutorial. I tried it and realized that the Image logo / Dynamic text option was still present in the Customizer (in the Site Identity panel). It’s not a great experience to have a non-working control in the Customizer so I went searching for a solution. Found this bit of code that solved it:
https://gist.github.com/evanwebdesign/1b49f132d0ae40fa1b62
Neil Gowran
Very good point – will update the post accordingly
Hanna
Thank you for this post! I was having such a hard time finding information on using custom-logo with genesis since the feature is so new. Worked perfectly in my child-theme.