Here is a guide on how to get PHPCodesniffer going on Atom text editor using the WordPress code standards, this will be done via adding PHPCodesniffer via Composer, you can also add PHPCodesniffer via Pear or Homebrew, I used to have it running via Pear but have found it to be not as reliable.
Install Composer
Open your Terminal application, you can pretty much run this from any location that you have permissions to read and write, your home or project directory will be ideal…
php -r "copy('https://getcomposer.org/installer', 'composer-setup.php');"
php -r "if (hash_file('SHA384', 'composer-setup.php') === '669656bab3166a7aff8a7506b8cb2d1c292f042046c5a994c43155c0be6190fa0355160742ab2e1c88d40d5be660b410') { echo 'Installer verified'; } else { echo 'Installer corrupt'; unlink('composer-setup.php'); } echo PHP_EOL;"
php composer-setup.php
php -r "unlink('composer-setup.php');"
When installing Composer be sure to check the original install instructions as the SHA file will change with each version release – the one I have used is for version 1.5.1
Making Composer Global
The above install will make Composer local to the directory, it is best to make it globally available, to make Composer available from anywhere on your filing system move Composer, to a known directory that is in your path, so from the directory you installed it move it into /usr/local/bin…
mv composer.phar /usr/local/bin/composer
Installing PHPCodesniffer with Composer
Once Composer is installed globally, time to install PHPCodesniffer, run on the command line…
composer global require "squizlabs/php_codesniffer=*"
Output should be similar to…
./composer.json has been created
 Loading composer repositories with package information
 Updating dependencies (including require-dev)

- Installing squizlabs/php_codesniffer (2.7.0)
 Downloading: 100%

Writing lock file
 Generating autoload files
Check your Composer Global Packages
To check your package run…
composer global show
You should get output similar to…
squizlabs/php_codesniffer 3.0.2 PHP_CodeSniffer tokenizes PHP
Adding PHPCodesniffer to your shell path
Add the home invisible Composer directory path to your shell path, which will be in your .bash_profile or .bashrc file
~/.composer/vendor/bin
You can add it with the below… copy and past in Terminal
cat << EOF >> ~/.bash_profile
# Add PHPCS (phpcs)
export PATH="$PATH:~/.composer/vendor/bin"
EOF
Either relaunch your Terminal, or run the source command on your config file for the new path to be registered.
Check PHPCodesniffer now running
The PHPCodesniffer operates on the command line as phpcs, run…
phpcs -i
You will now see a list of PHP code standard configs – now to add the WordPress one.
Add WordPress Code Standards
Next up is to clone the git repo of the WP Code standards which we will add to the phpcs app, I just am going to create a directory in my home account called codestandards and clone it into a directory called wpcs (short for WordPress Code Standards).
cd ~/codestandards
git clone [email protected]:WordPress-Coding-Standards/WordPress-Coding-Standards.git wpcs
Add WP Standards (wpcs) to the existing PHPCodesniffer – phpcs
On the command line run…
phpcs --config-set installed_paths /Users/{yourname}/codestandards/wpcs
Now check what standards PHPCS can use…
phpcs -i
Output should now include the 4 WordPress code standrds…
The installed coding standards are MySource, PEAR, PHPCS, PSR1, PSR2, Squiz, Zend, WordPress, WordPress-Core, WordPress-Docs, WordPress-Extra and WordPress-VIP
You can use phpcs via the command line in the format below, the command phpcs followed by the coding standard followed by the target file
phpcs --standard=WordPress testfile.phpBut much better to set up in a code editor like Atom.
Install the Atom Editor PHPCS Linter Package
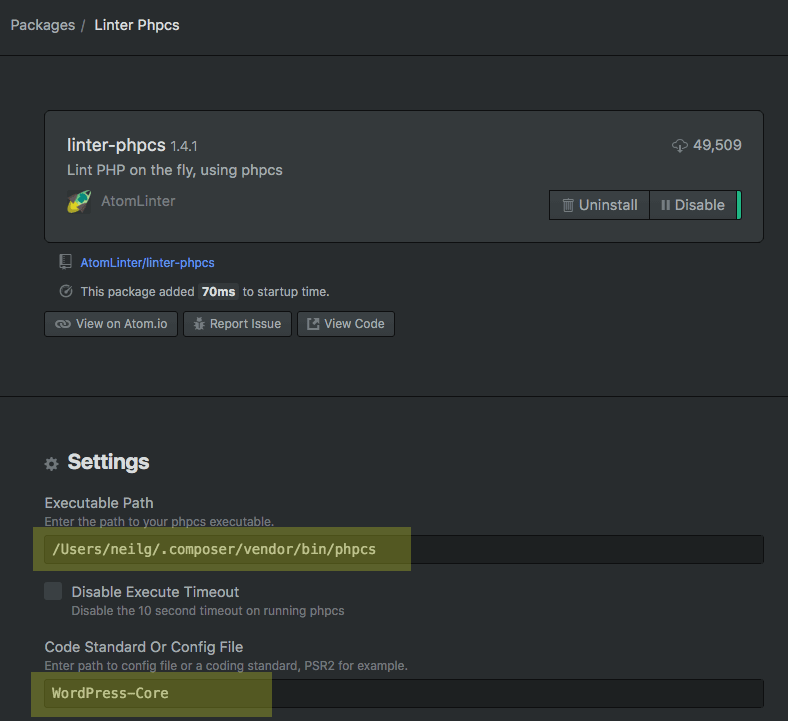
Install the linter-phpcs package, in Atom > Settings find phpcs… and install
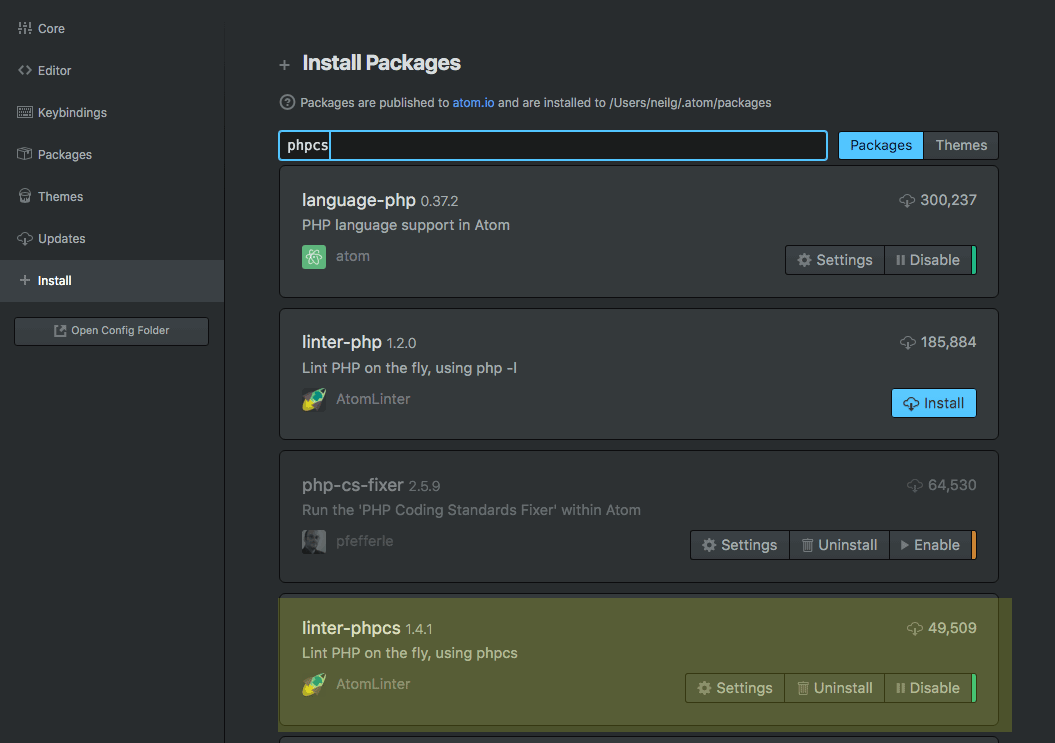
And in the settings of the package add in the path to the phpcs binary, which is the same as the path entered in your shell path earlier and preferred WordPress code standard, I put in WordPress-Core in this example.
For the path input here I have used an absolute path, I had issues with the relative one.
With the package enabled you now can see the all PHPCS errors and warnings.
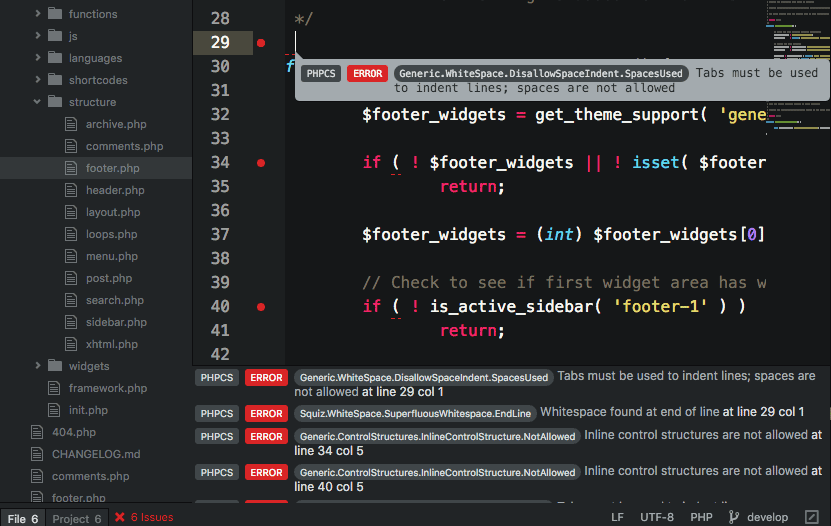
That’s it, just disable the linter package to turn off the errors when you are done.