Using VVV2 Vagrant as a WordPress local development workflow is a great flexible platform, here’s mine which uses 3 bits of software, (plus 2 as options) to create a vagrant box.
VirtualBox, Vagrant, VVV, VVV Dashboard (optional) and VVV Base (optional, but very worth it IMO).
Each of these bits build on the other and when put together make an environment that simulate a modern web production hosting platform.
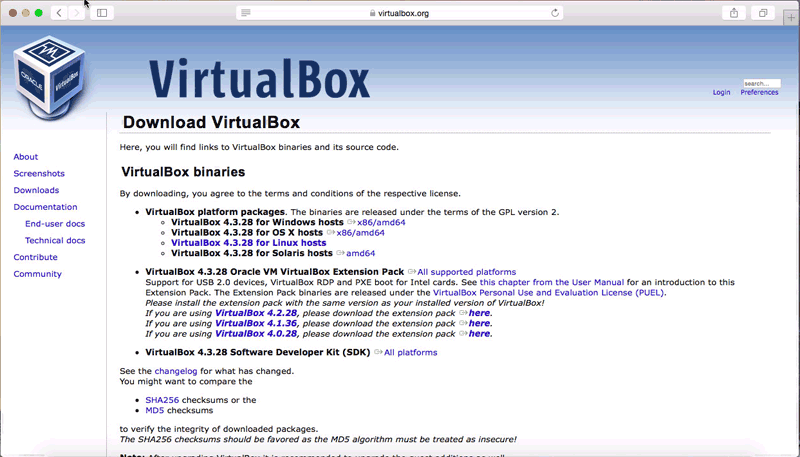
VirtualBox
First up is to download VirtualBox which is the virtual machine.
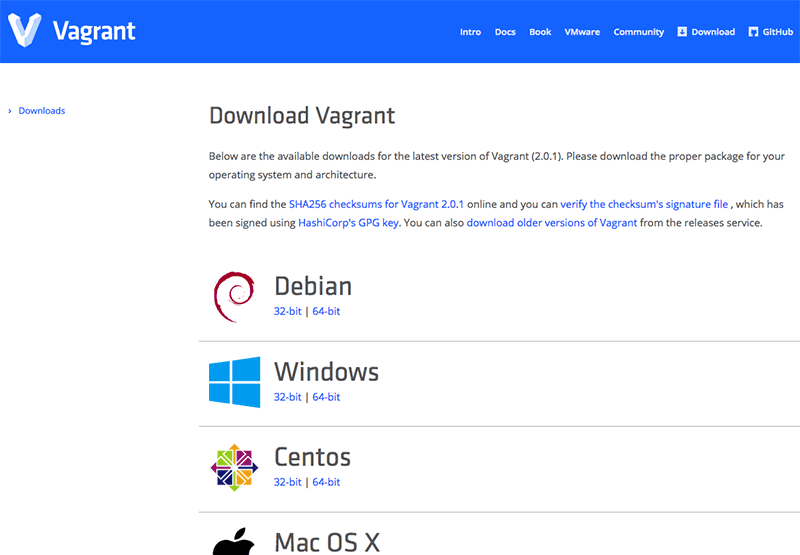
Vagrant
Next download and install Vagrant
Vagrant Plugins
I recommend installing 2 Vagrant plugins one is for host mapping, the other backs up the WordPress databases when Vagrant is halted – do this in the Terminal, just cd to your home directory and run.
vagrant plugin install vagrant-hostsupdater
vagrant plugin install vagrant-triggers
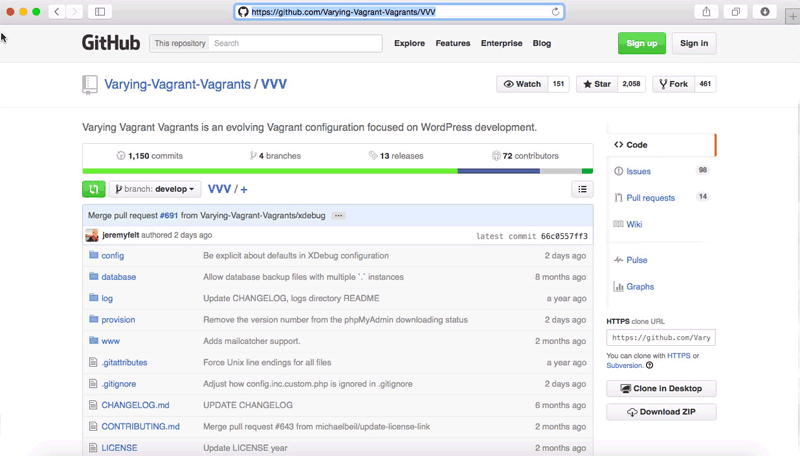
VVV (Varying Vagrant Vagrants)
Next is to install VVV which has 2 git repo branches, develop and master, I currently use the develop branch as it has the latest fixes and is very active – if you prefer you can also use the master branch.
So install develop
git clone -b develop git://github.com/Varying-Vagrant-Vagrants/VVV.git localdev
or master…
git clone -b master git://github.com/Varying-Vagrant-Vagrants/VVV.git localdev
So cloning the VVV repo above I am creating a directory to store it called localdev, if you don’t pass in a name it will create and store the files in a directory named VVV which is fine too. This download doesn’t take too long and you will soon be ready to do your first vagrant up.
First Time Boot Up
So that’s all the software installed, now in Terminal, change directory to your development directory either localdev, VVV of other one you set and run…
vagrant up
Time for a break whilst the vagrant box is built and software installed and configured which is known as provisioning. When it is all finished you will be able to login and view the 3 default sites that VVV creates.
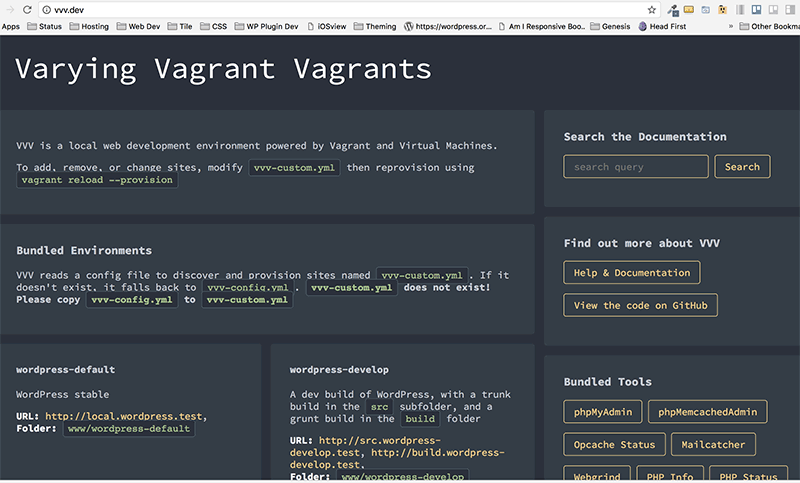
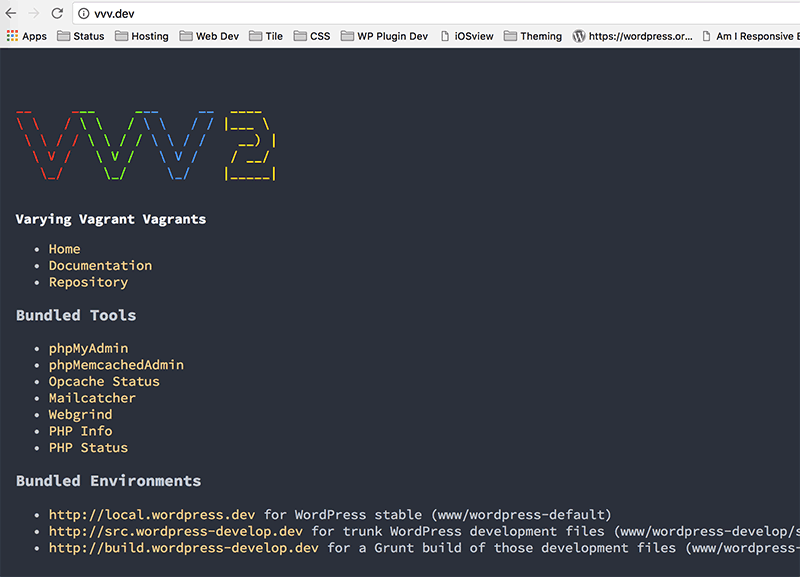
Default VVV Sites
When it is finished Go to http://vvv.test and see the 3 default VVV WordPress sites – these 3 versions of WordPress are updated each time the provision script is run – you can force it by running
vagrant provision
The WP-Admin logins to these sites and also ones created with the vv command are admin/password.
Also on the vvv home page are the links to the various tools such as phpMyAdmin, Mailcatcher and more.
phpMyAdmin login is root/root
Native Provisioning or VVV Base
Native provisioning for additional sites is done via the vvv-custom.yml file which doesn’t exist in a VVV fresh install, what you do is copy the existing vvv-config.yml and rename it vvv-custom.yml – that way your modifications are preserved when VVV is updated.
Once the custom file is made create a new site called test.test you could add under the sites section…
testsite:
 repo: https://github.com/Varying-Vagrant-Vagrants/custom-site-template
 hosts:
   - testsite.test
This is creating a site but with a custom WordPress site repo link provided by VVV, you can add your own repo.
When you have made changes do a provision for them to take affect…
Single Site Provision in VVV2 – quick
vagrant provision --provision-with=site-<sitenamehere>
Or All Sites Provision in VVV2
vagrant reload --provision
Now you will have a working new WordPress site at testsite.test
Create new custom WordPress sites using VVV Base
VVV Base is a custom provisioning script which does a fantastic job of customising a new WordPress site including adding themes and plugins or a whole wp-content folder, you can also set db prefix, locale instance and more.
It is also set up in the vvv-custom.yml file with a format similar to…
testsite:
          repo: https://github.com/JPry/vvv-base
          hosts:
              - testsite.test
          custom:
              admin_user: admin
              admin_password: password
              admin_email: [email protected]
              title: Just another VVV web site
              db_prefix: wp_
              multisite: false
              xipio: true
              version: latest
              locale: en_AU
              themes:
                  - { theme: "/vagrant/zips/bb-theme.zip", force: false, activate: false }
                  - { theme: "https://github.com/neilgee/beavertron/archive/master.zip", force: false, activate: true }
                  - { theme: "/vagrant/zips/lib.zip", force: false, activate: false }
              delete_default_plugins: true
              delete_default_themes: true
              wp: true
Then you provision it…
vagrant provision --provision-with=site-testsite
See the VVV Base site for more info on the options available for provisioning.
Halting and Destroying the Vagrant Box
To halt the vagrant box run
vagrant halt
To run it up again run
vagrant up
To delete the box run
vagrant destroy
To ssh into the box
vagrant ssh
By running vagrant destroy your WordPress files are still intact in your/www folder and if you have the vagrant triggers plugin installed the databases are backed up in database/backups.
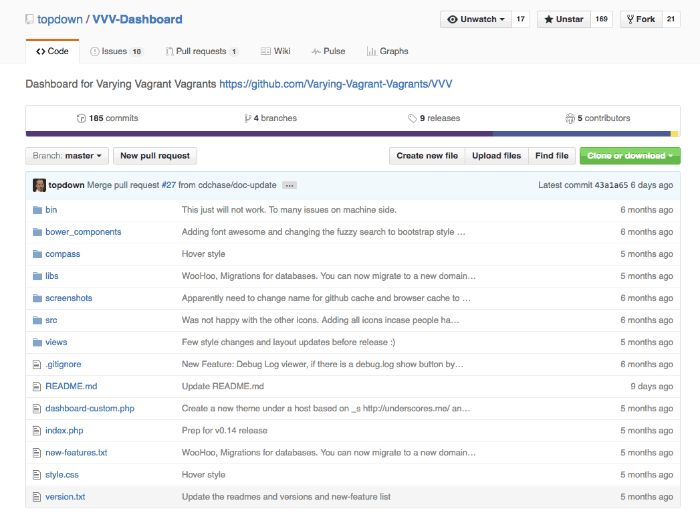
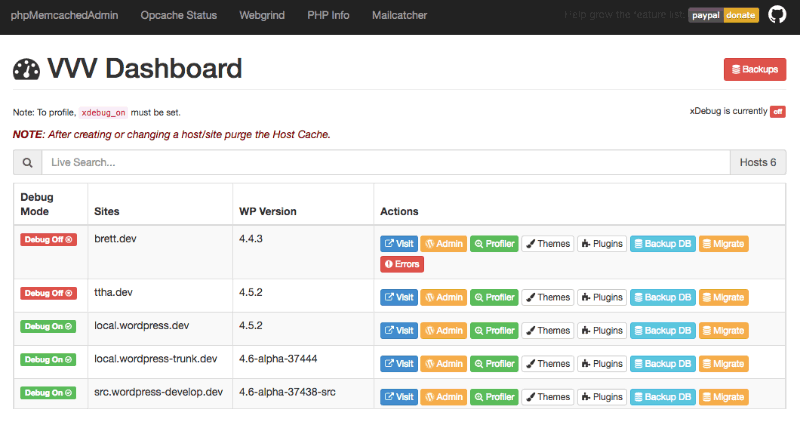
VVV Dashboard (optional)
Currently with VVV Dashboard there are some issues with VVV2 in that it doesn’t display sites provisioned natively.
Move into your VVV installation root directory
git clone https://github.com/topdown/VVV-Dashboard.git dashboard
Move the whole dashboard directory into VVV/www/default/
And from the dashboard directory copy/move the dashboard-custom.php file to the folder above – VVV/www/default/
Resources
New VVV2
Mentioned In Article
More


8 comments
Alex
Thanks a lot for very helpful article!
Jeff Behnke
Hello Neil,
My name is Jeff, topdown on Github. I am the creator of VVV Dashboard and just wanted to say thanks for including it in your post.
Keep an eye on it as when ever I get some free time, I usually put some time in on VVV Dashboard.
I just released a new version today 0.1.7 that includes more features.
Again, thanks for the mention.
Neil Gowran
No worries Jeff, I think you are doing a great job with it.
Mohamed Abd Elhalim
Thanks man for Custom Provisioning file, it’s working like charm ! it’s take from 40 to 60 seconds, but do this affect on the creating site process ? i mean the new site will be the same like default file process ?
and thanks for post.
regards
Neil Gee
Yes will be the same as when using full provision – but you should still do full provision to keep everything else up to date – so maybe run once a week or fortnight
Ian Douglas
A quick follow up on my last comment: I dropped your script into the provision folder on my dev folder and then ran vvv create. It halts Vagrant and then does its work, but I saw no difference in the time it took to go through the process. It was still trying to update a lot of components, and it still ran through all my other domains on that dev folder, updating WordPress on all of them. The process is still running as I type, at around 15 minutes so far. Mind you, I’m on a Third World ADSL connection.
Neil Gee
Make sure the custom script is named correctly and is executable – provision time should be between 1-2mins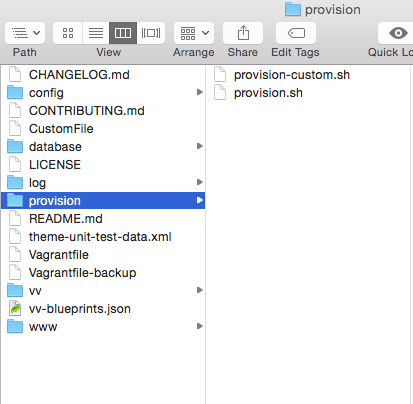
Ian Douglas
Thanks for this run down. Am I right to think that vagrant –provision would force a full provision, thus overriding the custom provisioning of your amended script? I know ideally I’d have a separate VM for each new domain/site I’m building locally, but I kinda fell into the practice of using one VM, running Vagrant, to store multiple domains/sites. Adding a new site is a long process, though easy and automated (thanks to VVV Site Wizard … ). I’d love to force the process to just do what is necessary to get one new site up and running. I’m guessing that that is what your custom script will do. Then every once in a while, as you suggest, I can run the full provision when I don’t need to be at the computer, to keep things updated. On another point, I didn’t try Variable VVV. I have VVV Site Wizard installed. They’re separate commands (vv as opposed to vvv), but is there any chance of a conflict in installing Variable VVV, to try it out? I’m very happy with VVV Site Wizard. It gives a prompt for the basic info I need to enter and then executes the build. Maybe there’s something I’m missing, or it is missing? Would be happy to read any comments on this you have.